How to make your images interactive with audio, video and links
Have you ever wanted to embed a link into a specific region of an image? What about several links in one image? What if you could embed additional photos, video and audio in the image to provide extra context? Thinglink is a service that allows you to turn any image into an interactive experience. Thanks to Dan Archer for the tip!
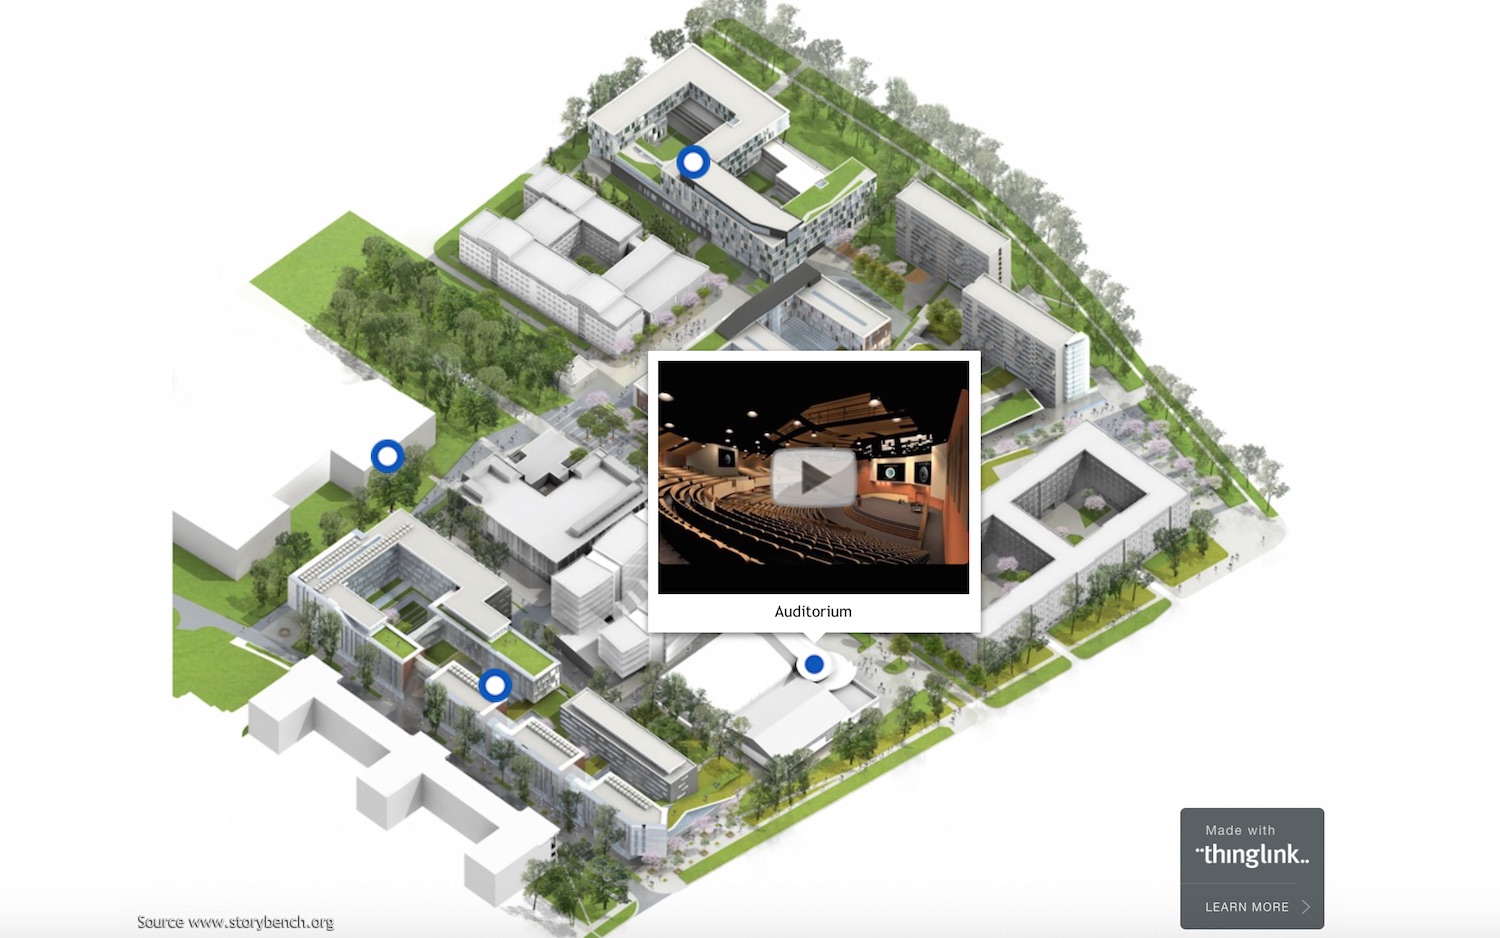
Storybench signed up for a educational account and started building an interactive image. Here’s the finished product:
Start a new project in Thinglink
After signing up for an account (there are free, premium, and educational accounts), we uploaded a base image that we wanted to make interactive.

Start adding interactive elements
After you upload your image, Thinglink offers an interface to start adding interactive elements. We started by adding a tag to embed a video in the image.
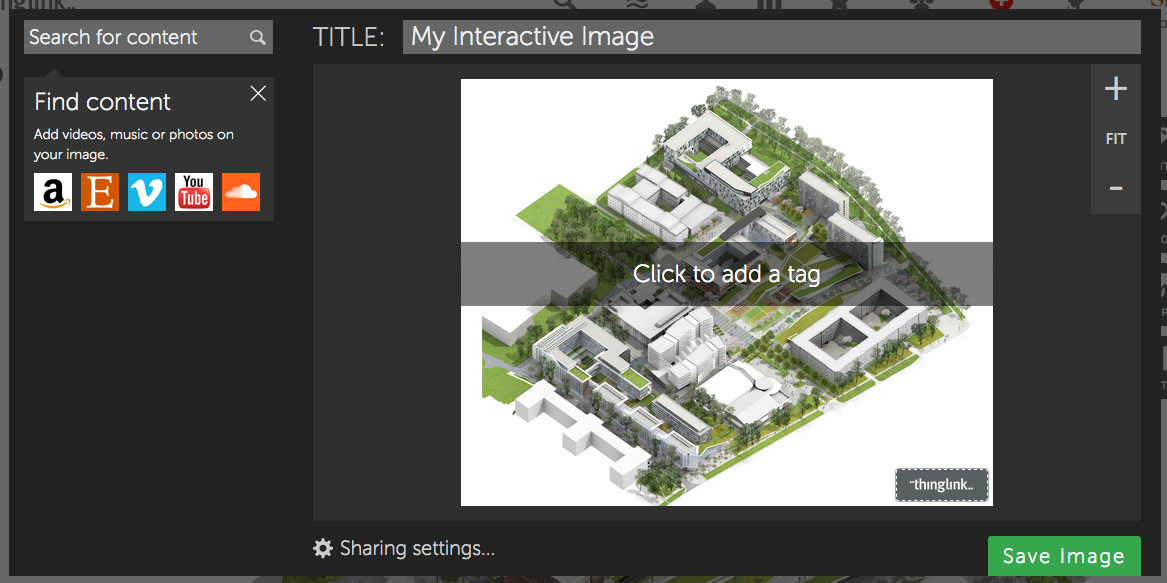
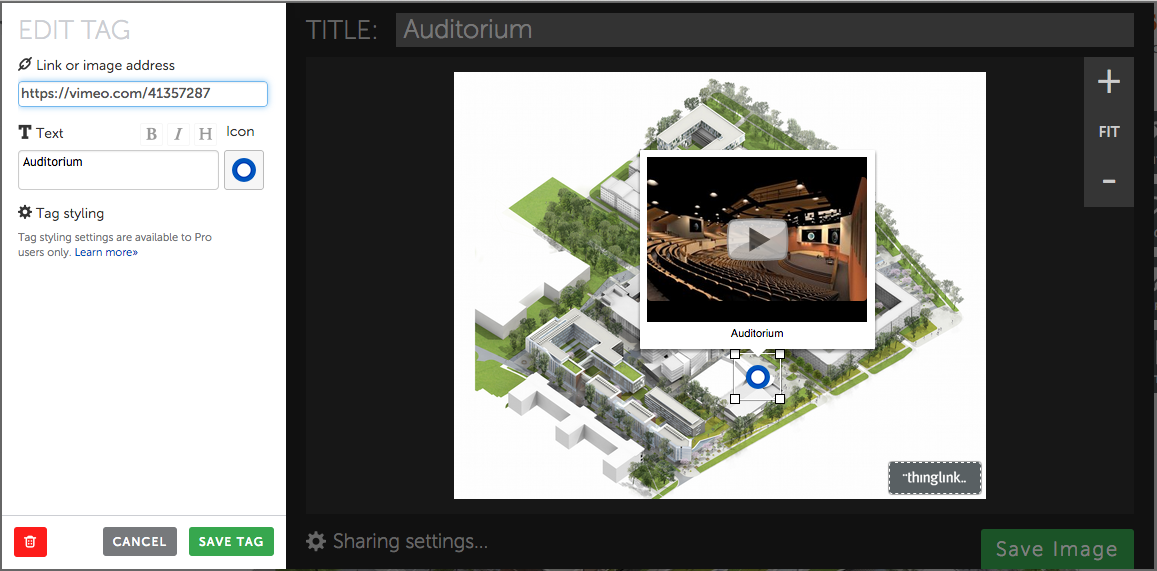
After clicking the area on the image where we wanted to add the tag, we provided a link to the Vimeo video and text for the video’s caption. With the educational account you can change the icon color and shape to some preloaded options. The premium account apparently allows the user to customize these labels.
Click Save Tag and your video is embedded.
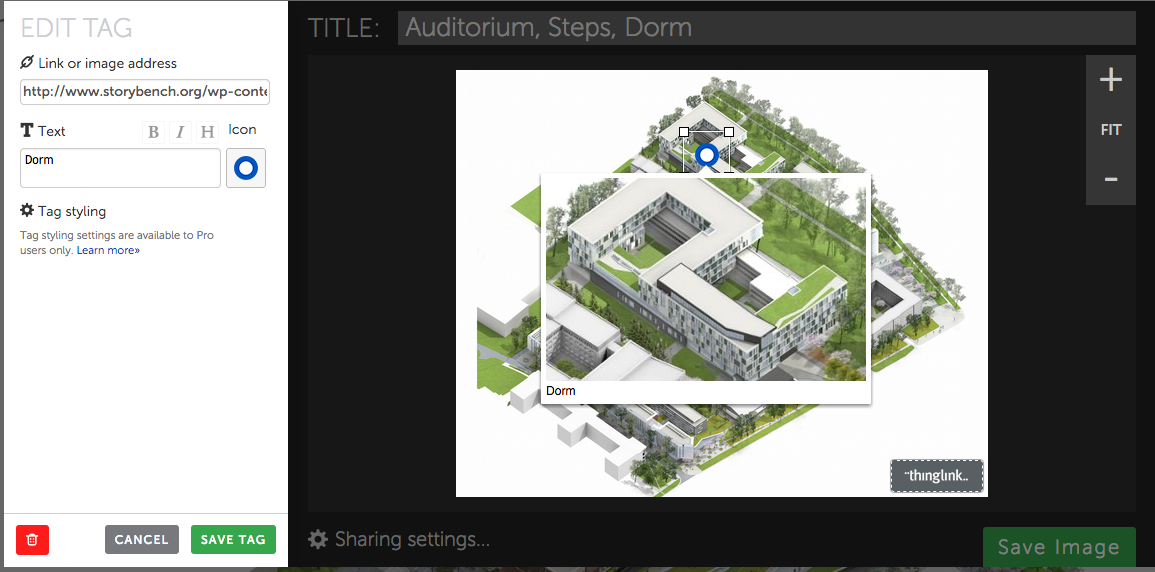
Adding a hover-over popup image to your interactive
We wanted to create a feature where one could hover over a label and see a zoomed-in, popup image. To do so, we added a tag and included an image link that we had uploaded through WordPress.
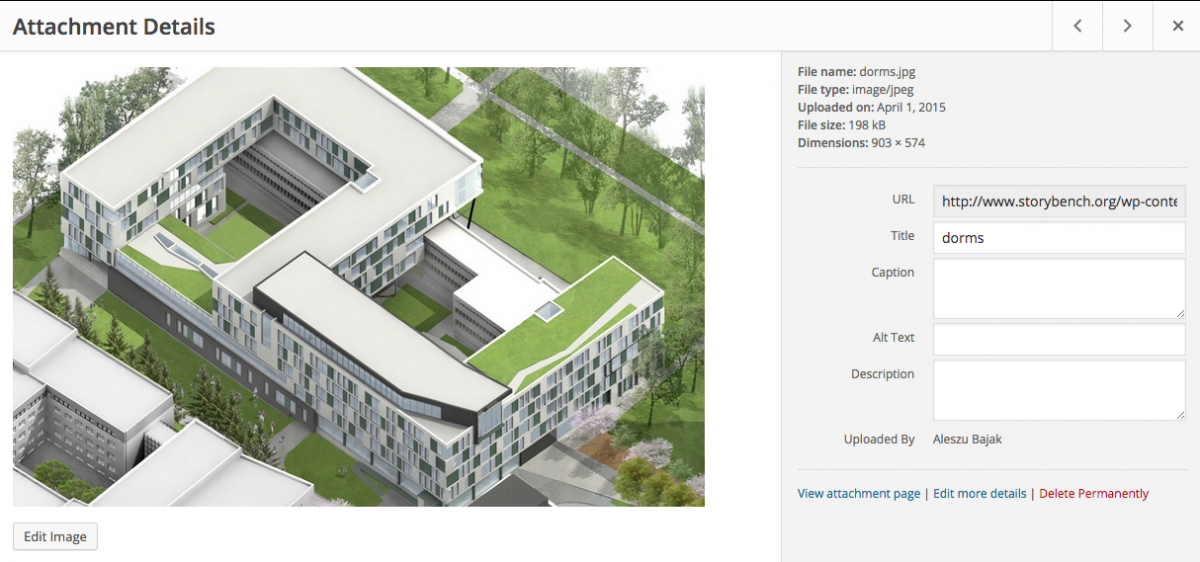
We pasted in our image URL and gave it a caption. Click Save Tag.
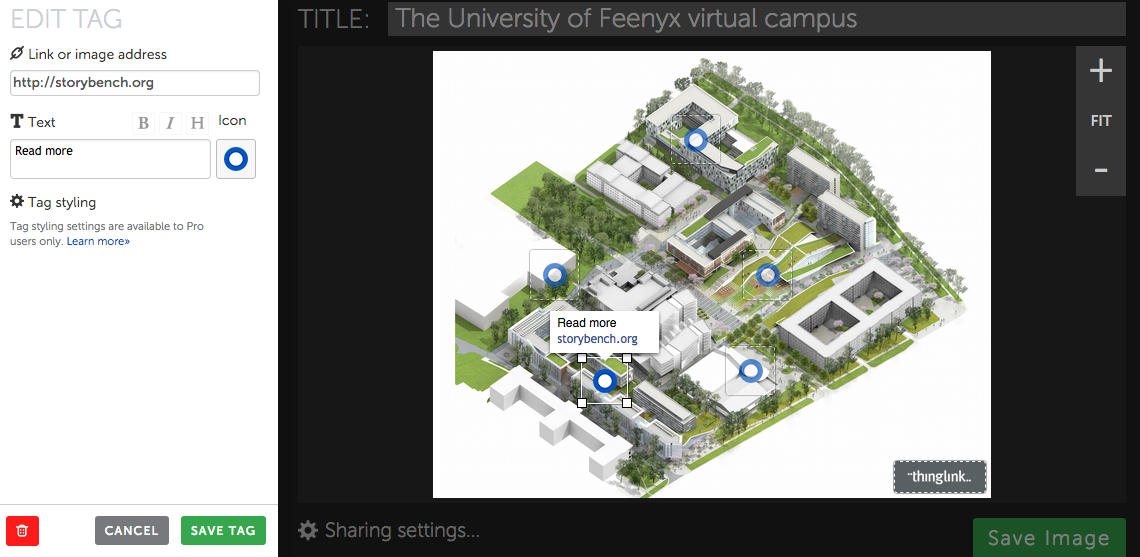
Adding a standard hyperlink and new title
Thinglink allows you to add a simple hyperlink to a tag, too. Naturally, we linked to Storybench. We also changed the title of our interactive image. We hope you like it.
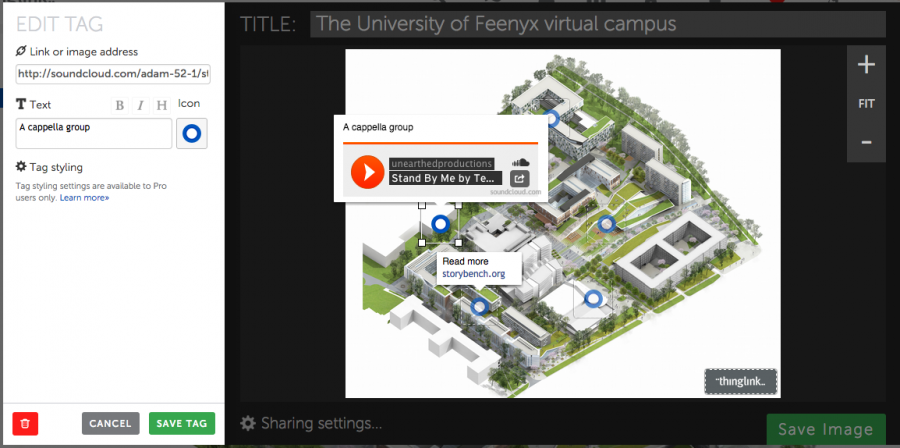
Adding an audio clip
Thinglink offers a search bar to find content to add to your interactive image. After searching for a Soundcloud link, we added it to one of our tags. If you’ve misplaced your tag on your image, you can drag it around and place it somewhere else.
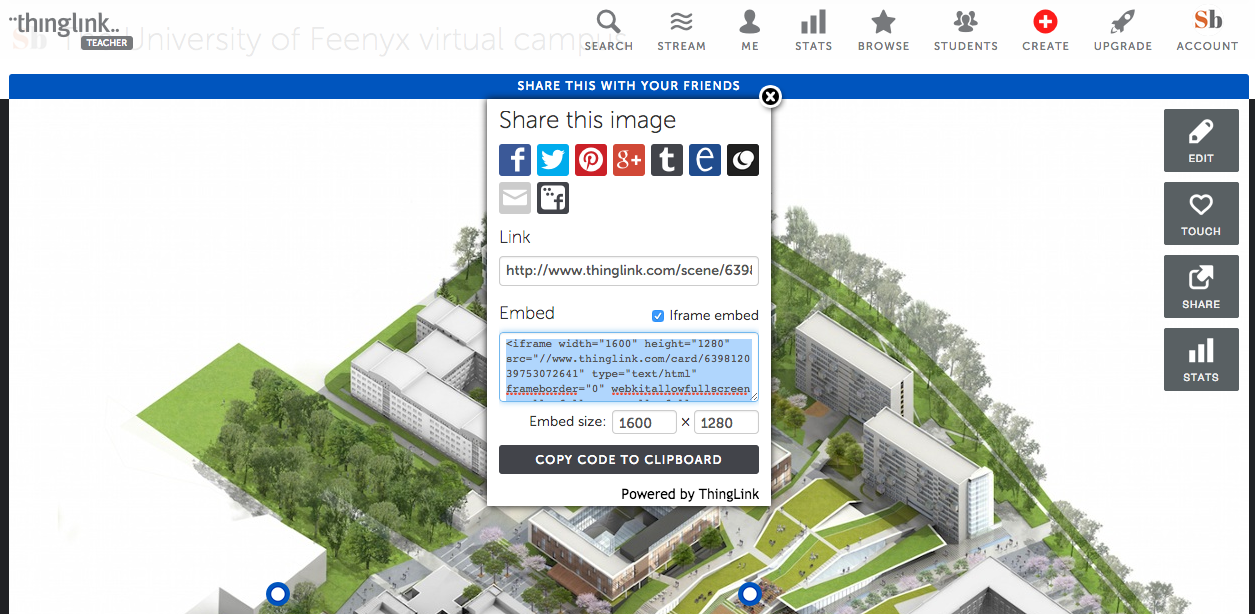
Finishing and embedding your interactive image
Once you’re finished adding tags, click Save Image at the bottom right corner of the screen. You can then share the image with an embed code. We clicked the checkbox for iframe embed because that’s what works best for our WordPress theme. You can also share a link to your image through social channels.
Below, our Thinglink of The University of Feenyx virtual campus!
