How to create a GIF from a video, a screencast, or a bunch of images
Animated GIFs are great. They’re more lightweight than video, take very little time to produce, and, if a picture is worth 1,000 words, then GIFs are arguably worth a whole lot more. (In recent news, GIF clearing house Giphy recently released a camera app to record from your phone.)
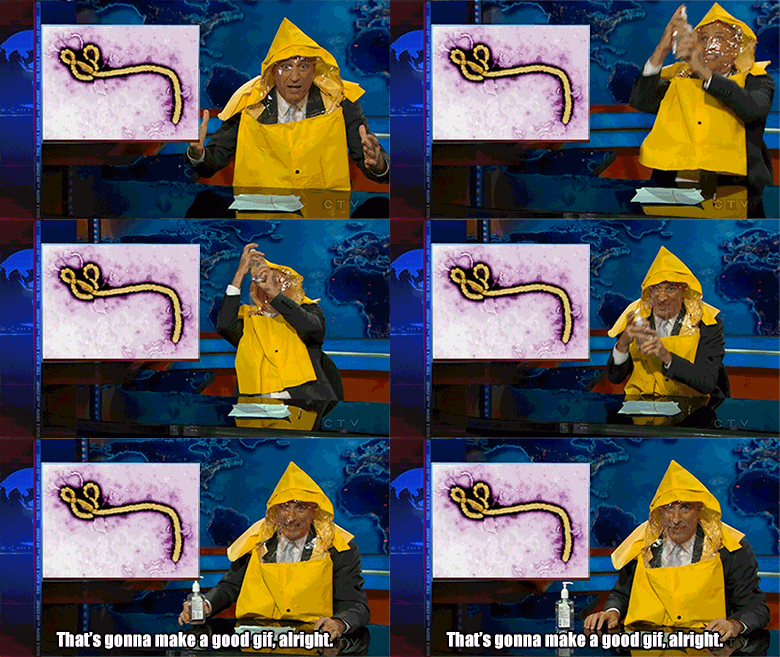
Increasingly, GIFs are being used by journalists to illustrate concepts, make visuals more dynamic, and walk viewers through a process. For more on journalist’s adopting GIFs, read through Lena Groeger’s piece “How to use loops to explain anything,” which appeared on Source and ProPublica’s Nerd Blog.
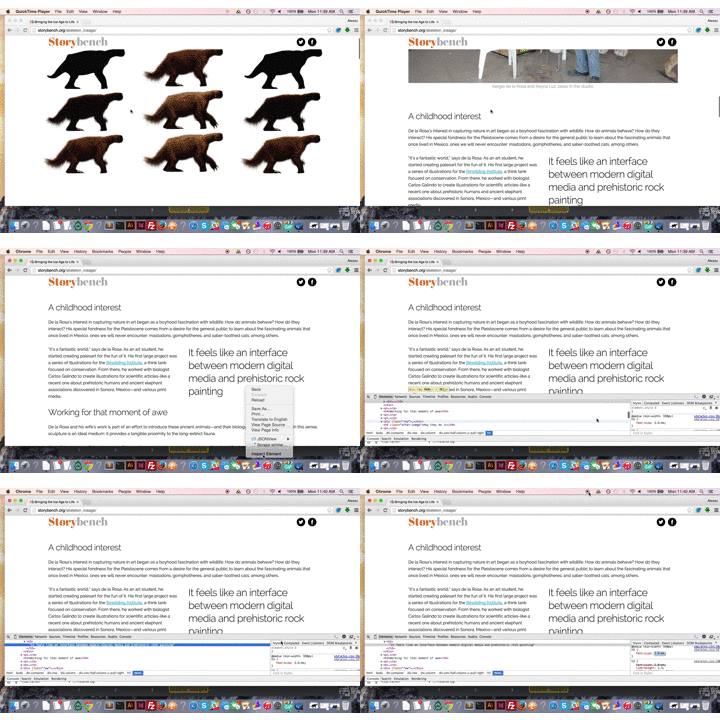
This tutorial will show you how to make a GIF from a series or images, a video, or a screencast. We’ll use the free application PicGIF Lite. We’ll start with making a GIF from a video. Then we’ll make a GIF from a series of photos.
Read how to record a screencast here.
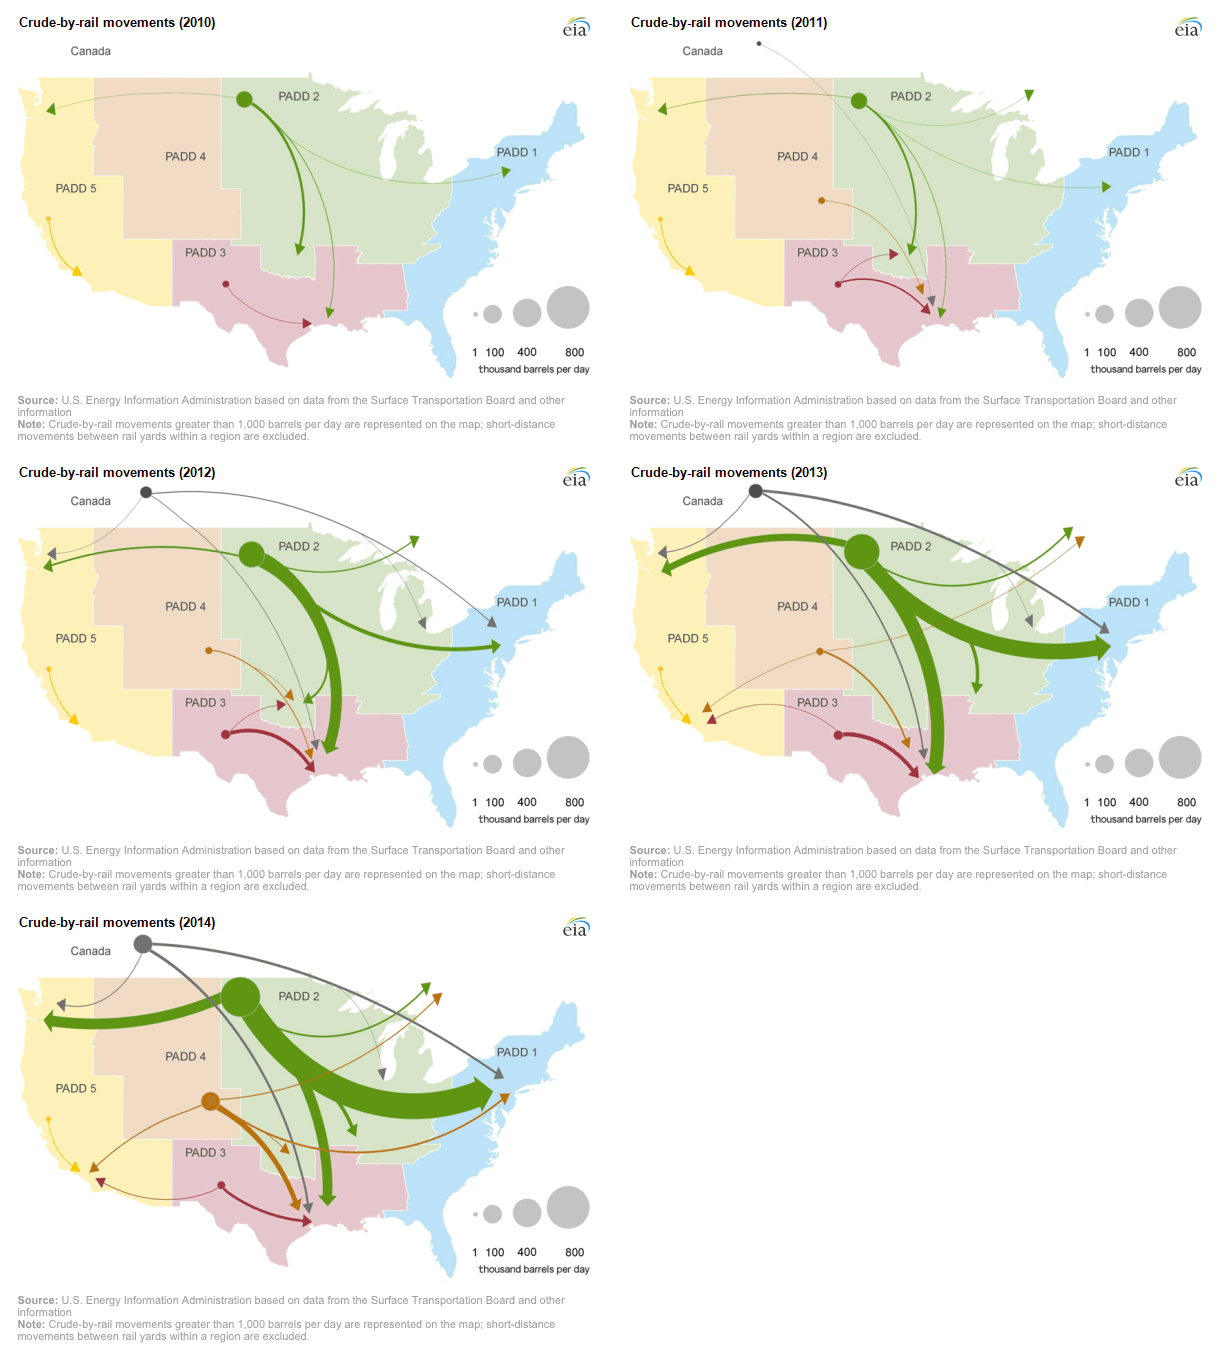
Some examples of GIFs being used in journalism here.
Download PicGIF Lite
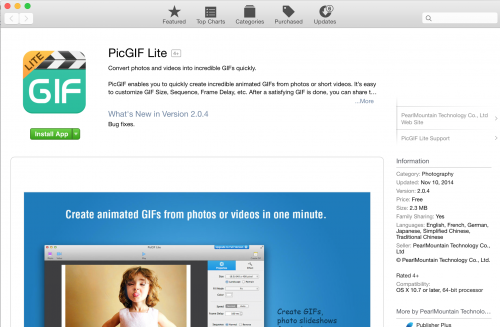
PicGIF Lite is 2.3 MB and works on Macs. Download it for free at the Mac App store.
Drop in video or images
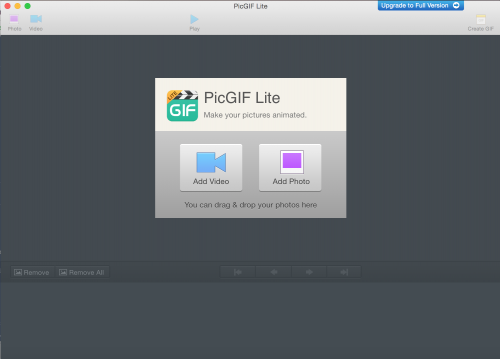
PicGIF is super WYSIWYG, meaning “what you see is what you get.” Once you’ve downloaded and booted it up, add video or a group of photos. You can always add more photos later.
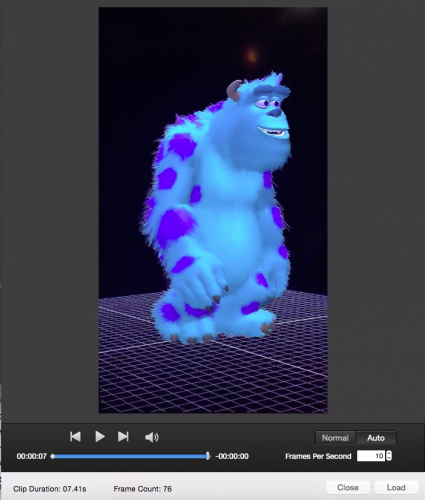
Step one, find your video. We do not condone ripping content off YouTube but plenty of plugins do.
Once you’ve dropped your video in, the app will ask you Load it. Here you can change the frames per second (fps) that PicGIF Lite will capture. The lower your frame rate, the faster it will capture the video. But remember, by lowering your frame rate you are dropping frames and therefore losing smoothness. Change the frame rate and test your video to see how much quality and smoothness you’ve lost. For this Pixar video, I used 10 fps. Then, hit Load.
Customize your video
Once your video is loaded in, PicGIF Lite makes it simple to change a bunch of your video’s properties. Because the following video was shot on an iPhone 6 in portrait mode, I want to click the Portrait button under the Size field in the Properties tab. This will change the dimensions of the final GIF.
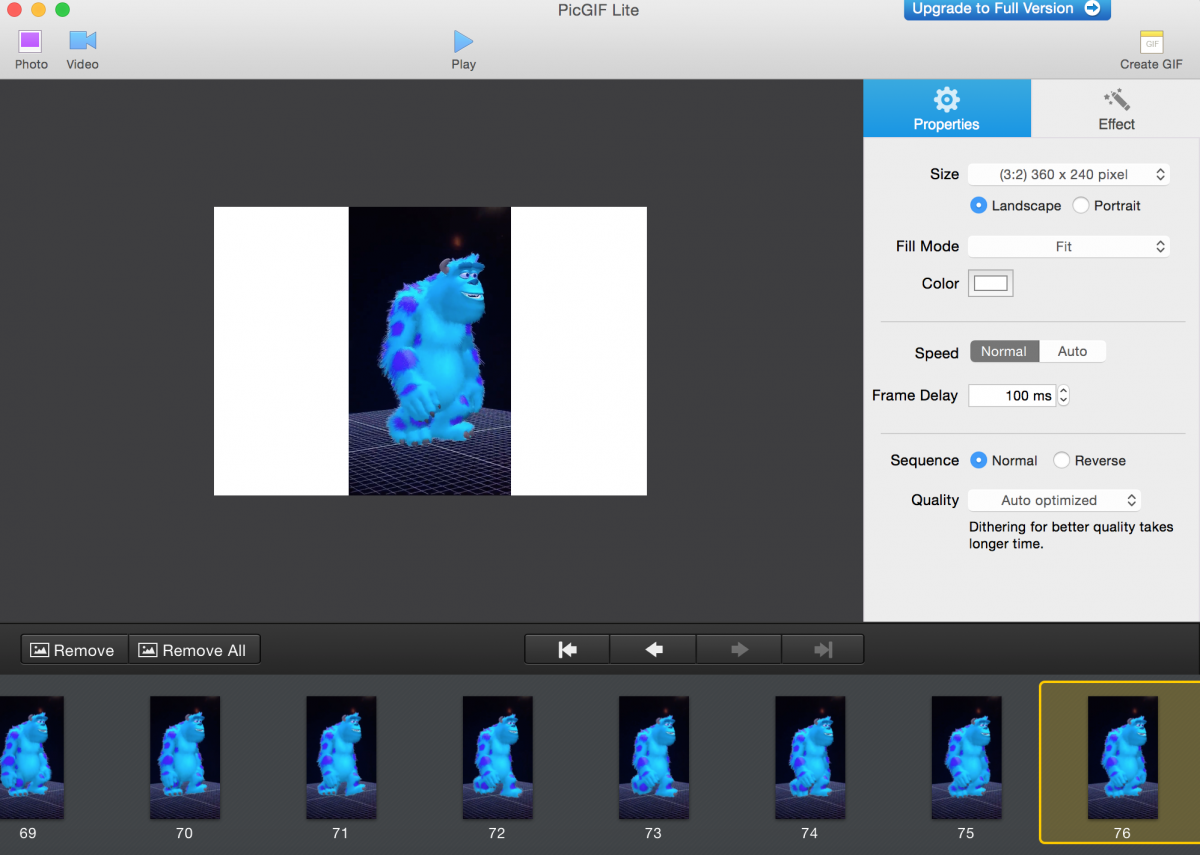
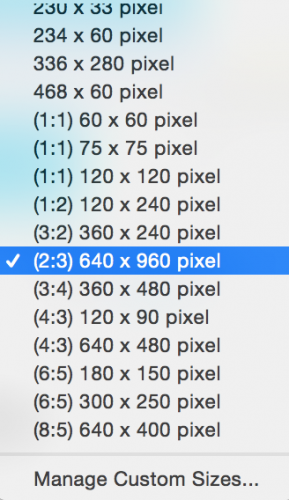
Next, I change the video’s dimensions by using the dropdown menu in the Size field. This Pixar GIF is going to be 360 x 480 because I don’t want it to be that large of a file size. (360 x 480 resulted in a 5.3 MB GIF whereas 640 x 960 resulted in a 19.4 MB GIF). You can also specify and save custom dimensions.
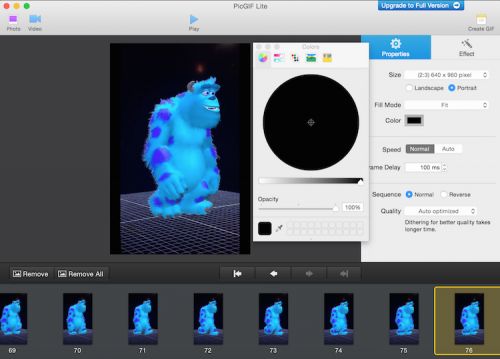
The Fill Mode field will allow you to select Fit, Fill or Stretch. The latter two end up cutting out some information, so I selected Fit.
To change the background color, click Color and move the color over to black. There are several different color palettes and color wheels to choose from.
Changing the speed of your GIF
In the Speed field, by selecting Normal you can change the frame delay, i.e. the space between frames. Raising this will slow the GIF down. Alternatively, by selecting Auto, you can alter the frame rate manually.
Dropping frames from your GIF
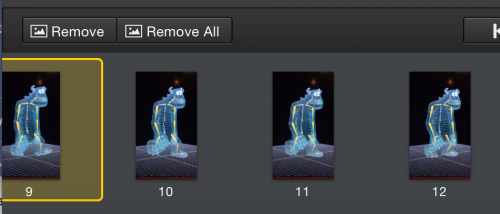
Along the bottom of the app screen, you can select individual frames and delete them by clicking Remove. Remove All will take you back to the main entry screen. Unfortunately, you cannot remove frames in bulk.
Rearranging sequence and frames in your GIF
By selecting and dragging frames, you can rearrange them. Clicking the arrows will do this, too.
In the Sequence field, the GIF’s direction can be reversed by clicking Reverse.
Applying a visual effect to your GIF
Next to the Properties tab, click Effect. Here you can add Instagram-style filters like Vintage, Marcato, and B&W. You can also play around with Saturation, Hue, Exposure, Contrast, and Brightness.
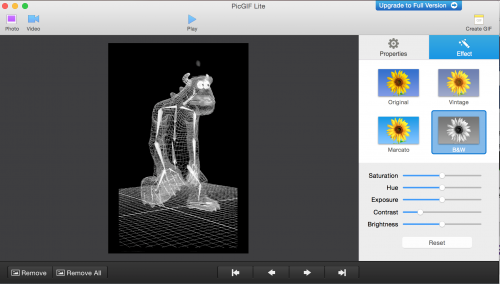
Export your GIF
Throughout the process, you can preview your GIF by clicking the Play button at the top of the app’s screen. Once you’re happy with how your GIF looks, click Create GIF in the top-right of the app’s screen.
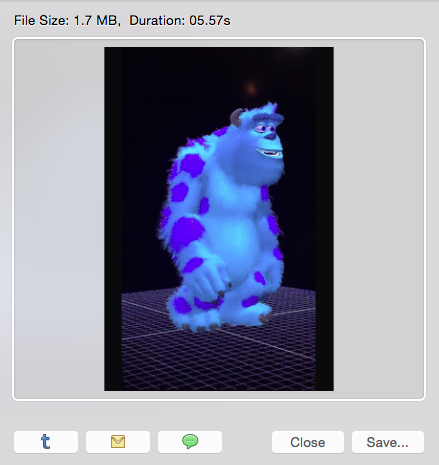
The File Size and Duration of your GIF will be listed on the next screen. This will depend on the parameters (like frame rate) that you’ve selected.
Make sure to click Save here.
Creating a screencast
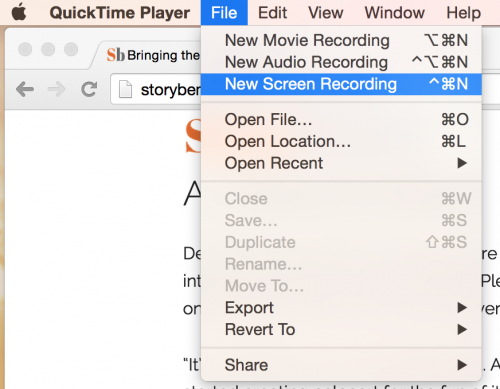
I use QuickTime Player to record screencasts. To do that, open QuickTime and click New Screen Recording under the File menu.
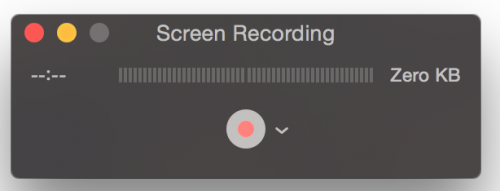
Next, click the red record button on the Screen Recording box.
Finally, you can record the full screen by clicking anywhere on your desktop. Alternatively, you can click-and-drag to create a box of the region of the screen you want to record. Finally, you can stop the recording by clicking the stop icon on your computer’s top navigation menu.
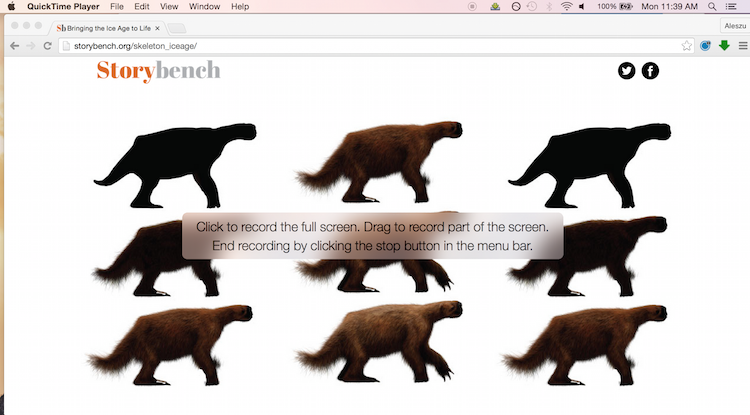
Once you’ve clicked the screen or created your box, start doing what you want to have recorded. When you’re finished, click the stop icon and save the screencast.
Creating a GIF from the screencast video
Upload the video in the same way outlined above. Important: It might be helpful to Trim the beginning and end of your video in QuickTime first before loading it into PicGIF Lite. This will save you from having to drop frames later.

Creating a GIF from a series of images
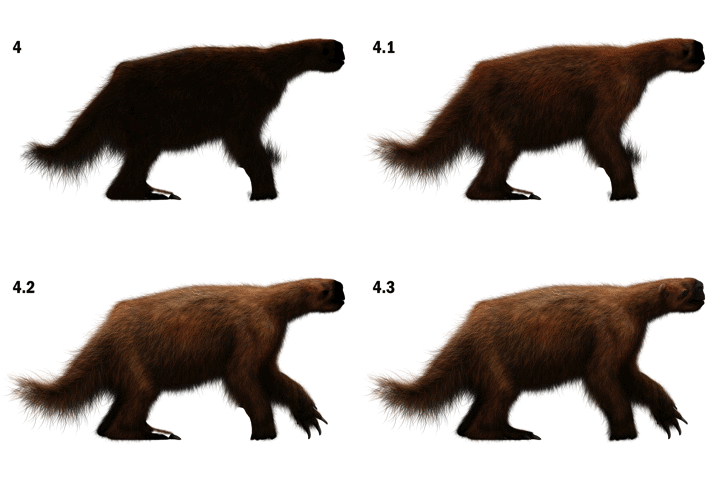
From the main PicGIF Lite screen, click Add Photo and select a sequence of photos you’d like to make into a GIF.
Make sure your images are arranged properly. If they’re in backwards order, you can always click Reverse under the Sequence field instead of having to drag them around.
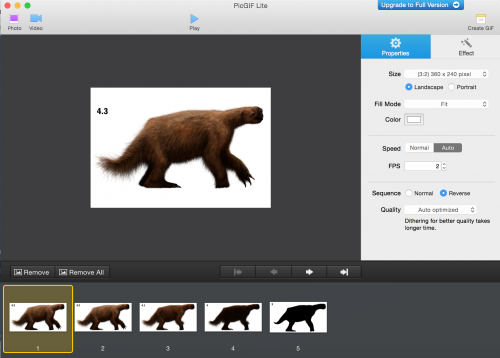
Click Create GIF when you’re finished and then Save.
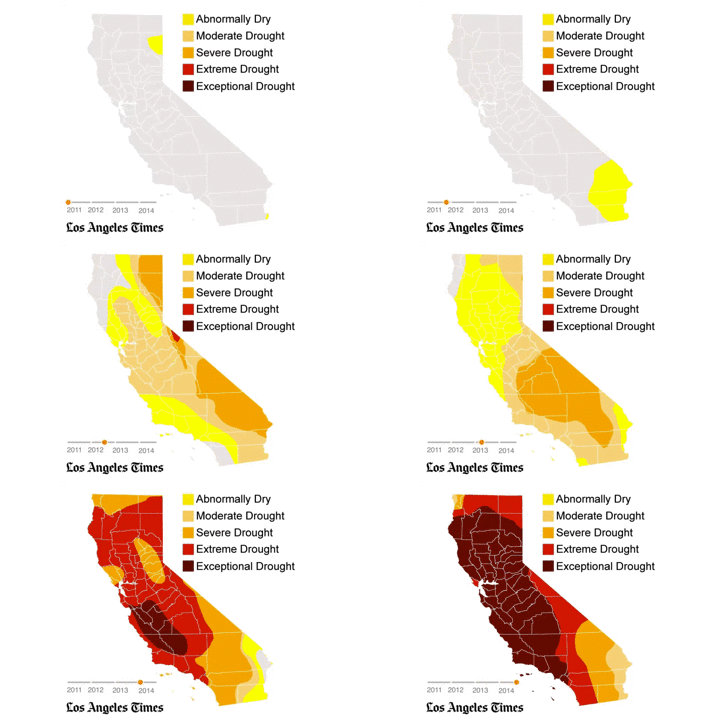
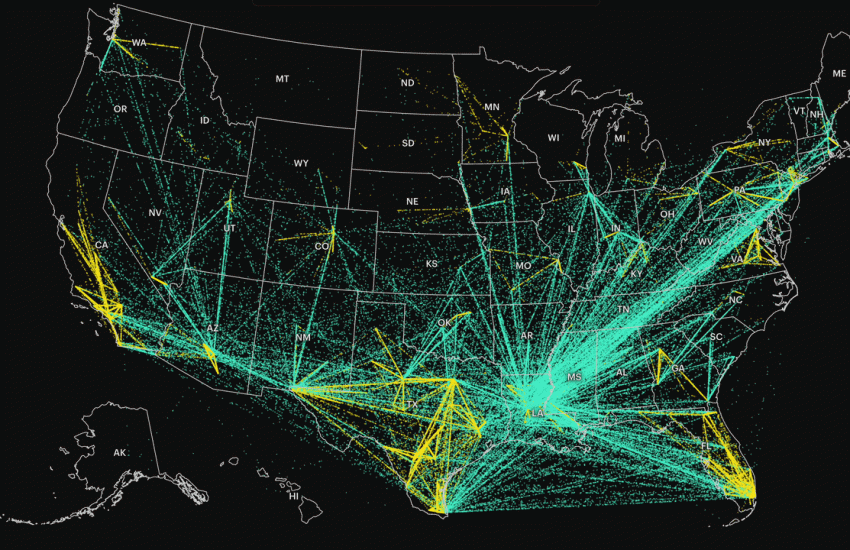
Some examples of GIFs in journalism
The New York Times

The Washington Post
BuzzFeed News
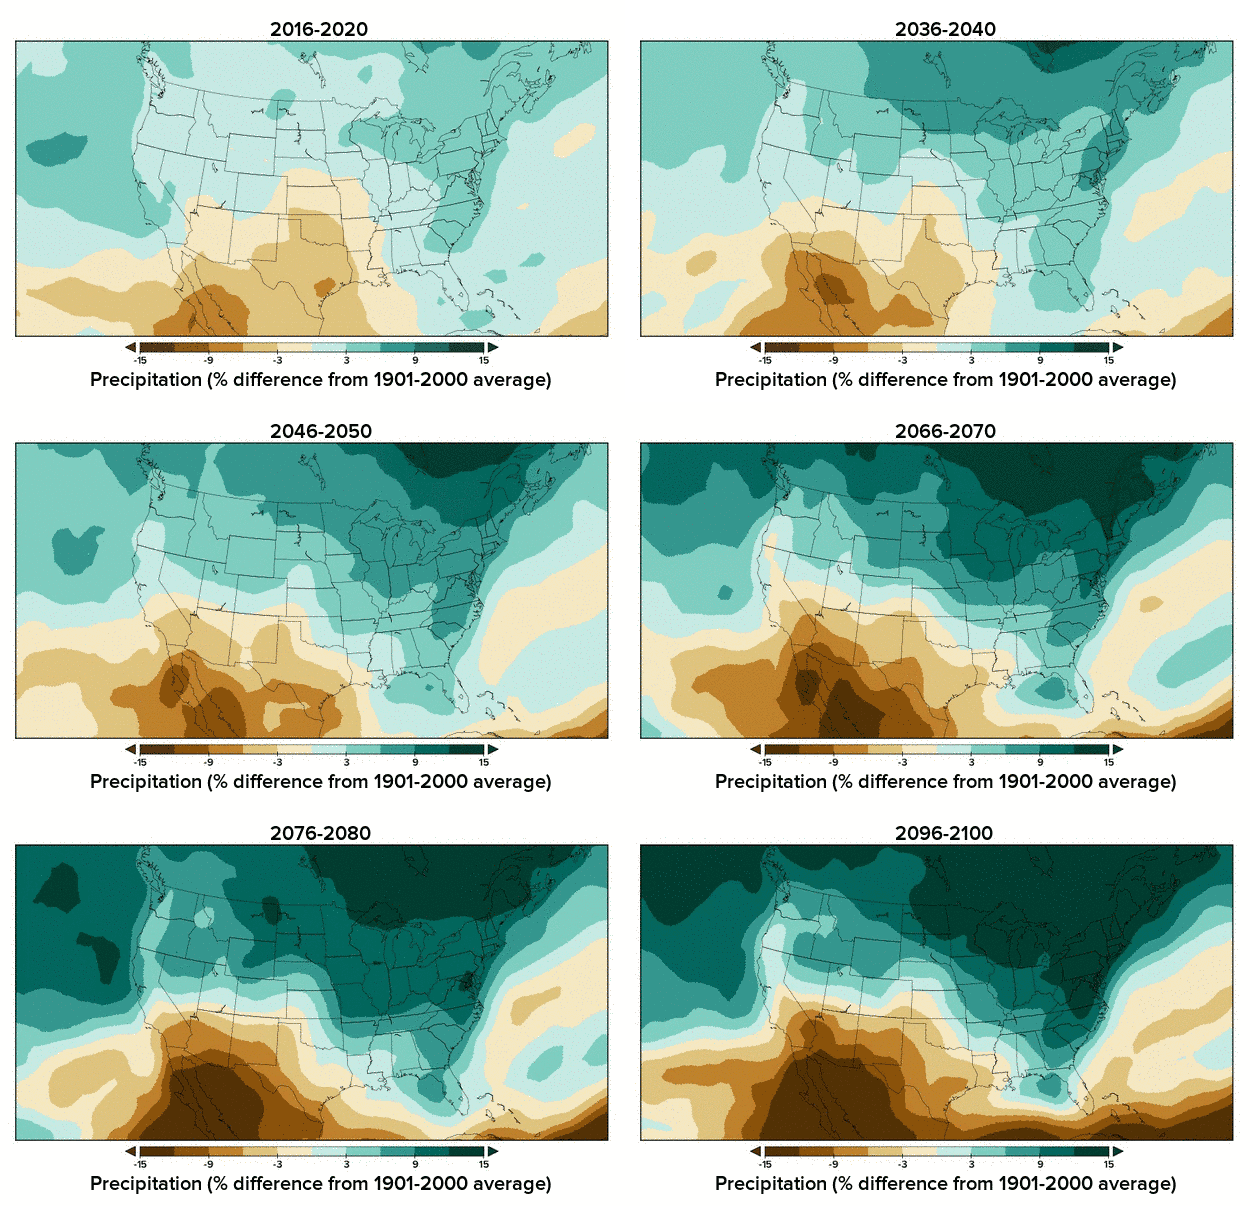
NPR News
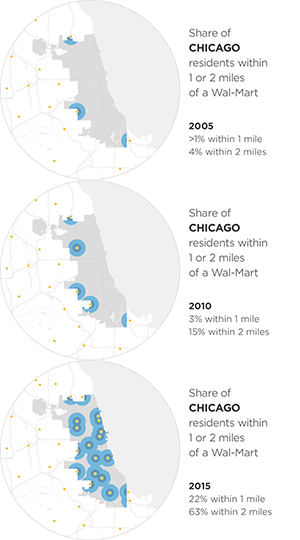
Los Angeles Times
